
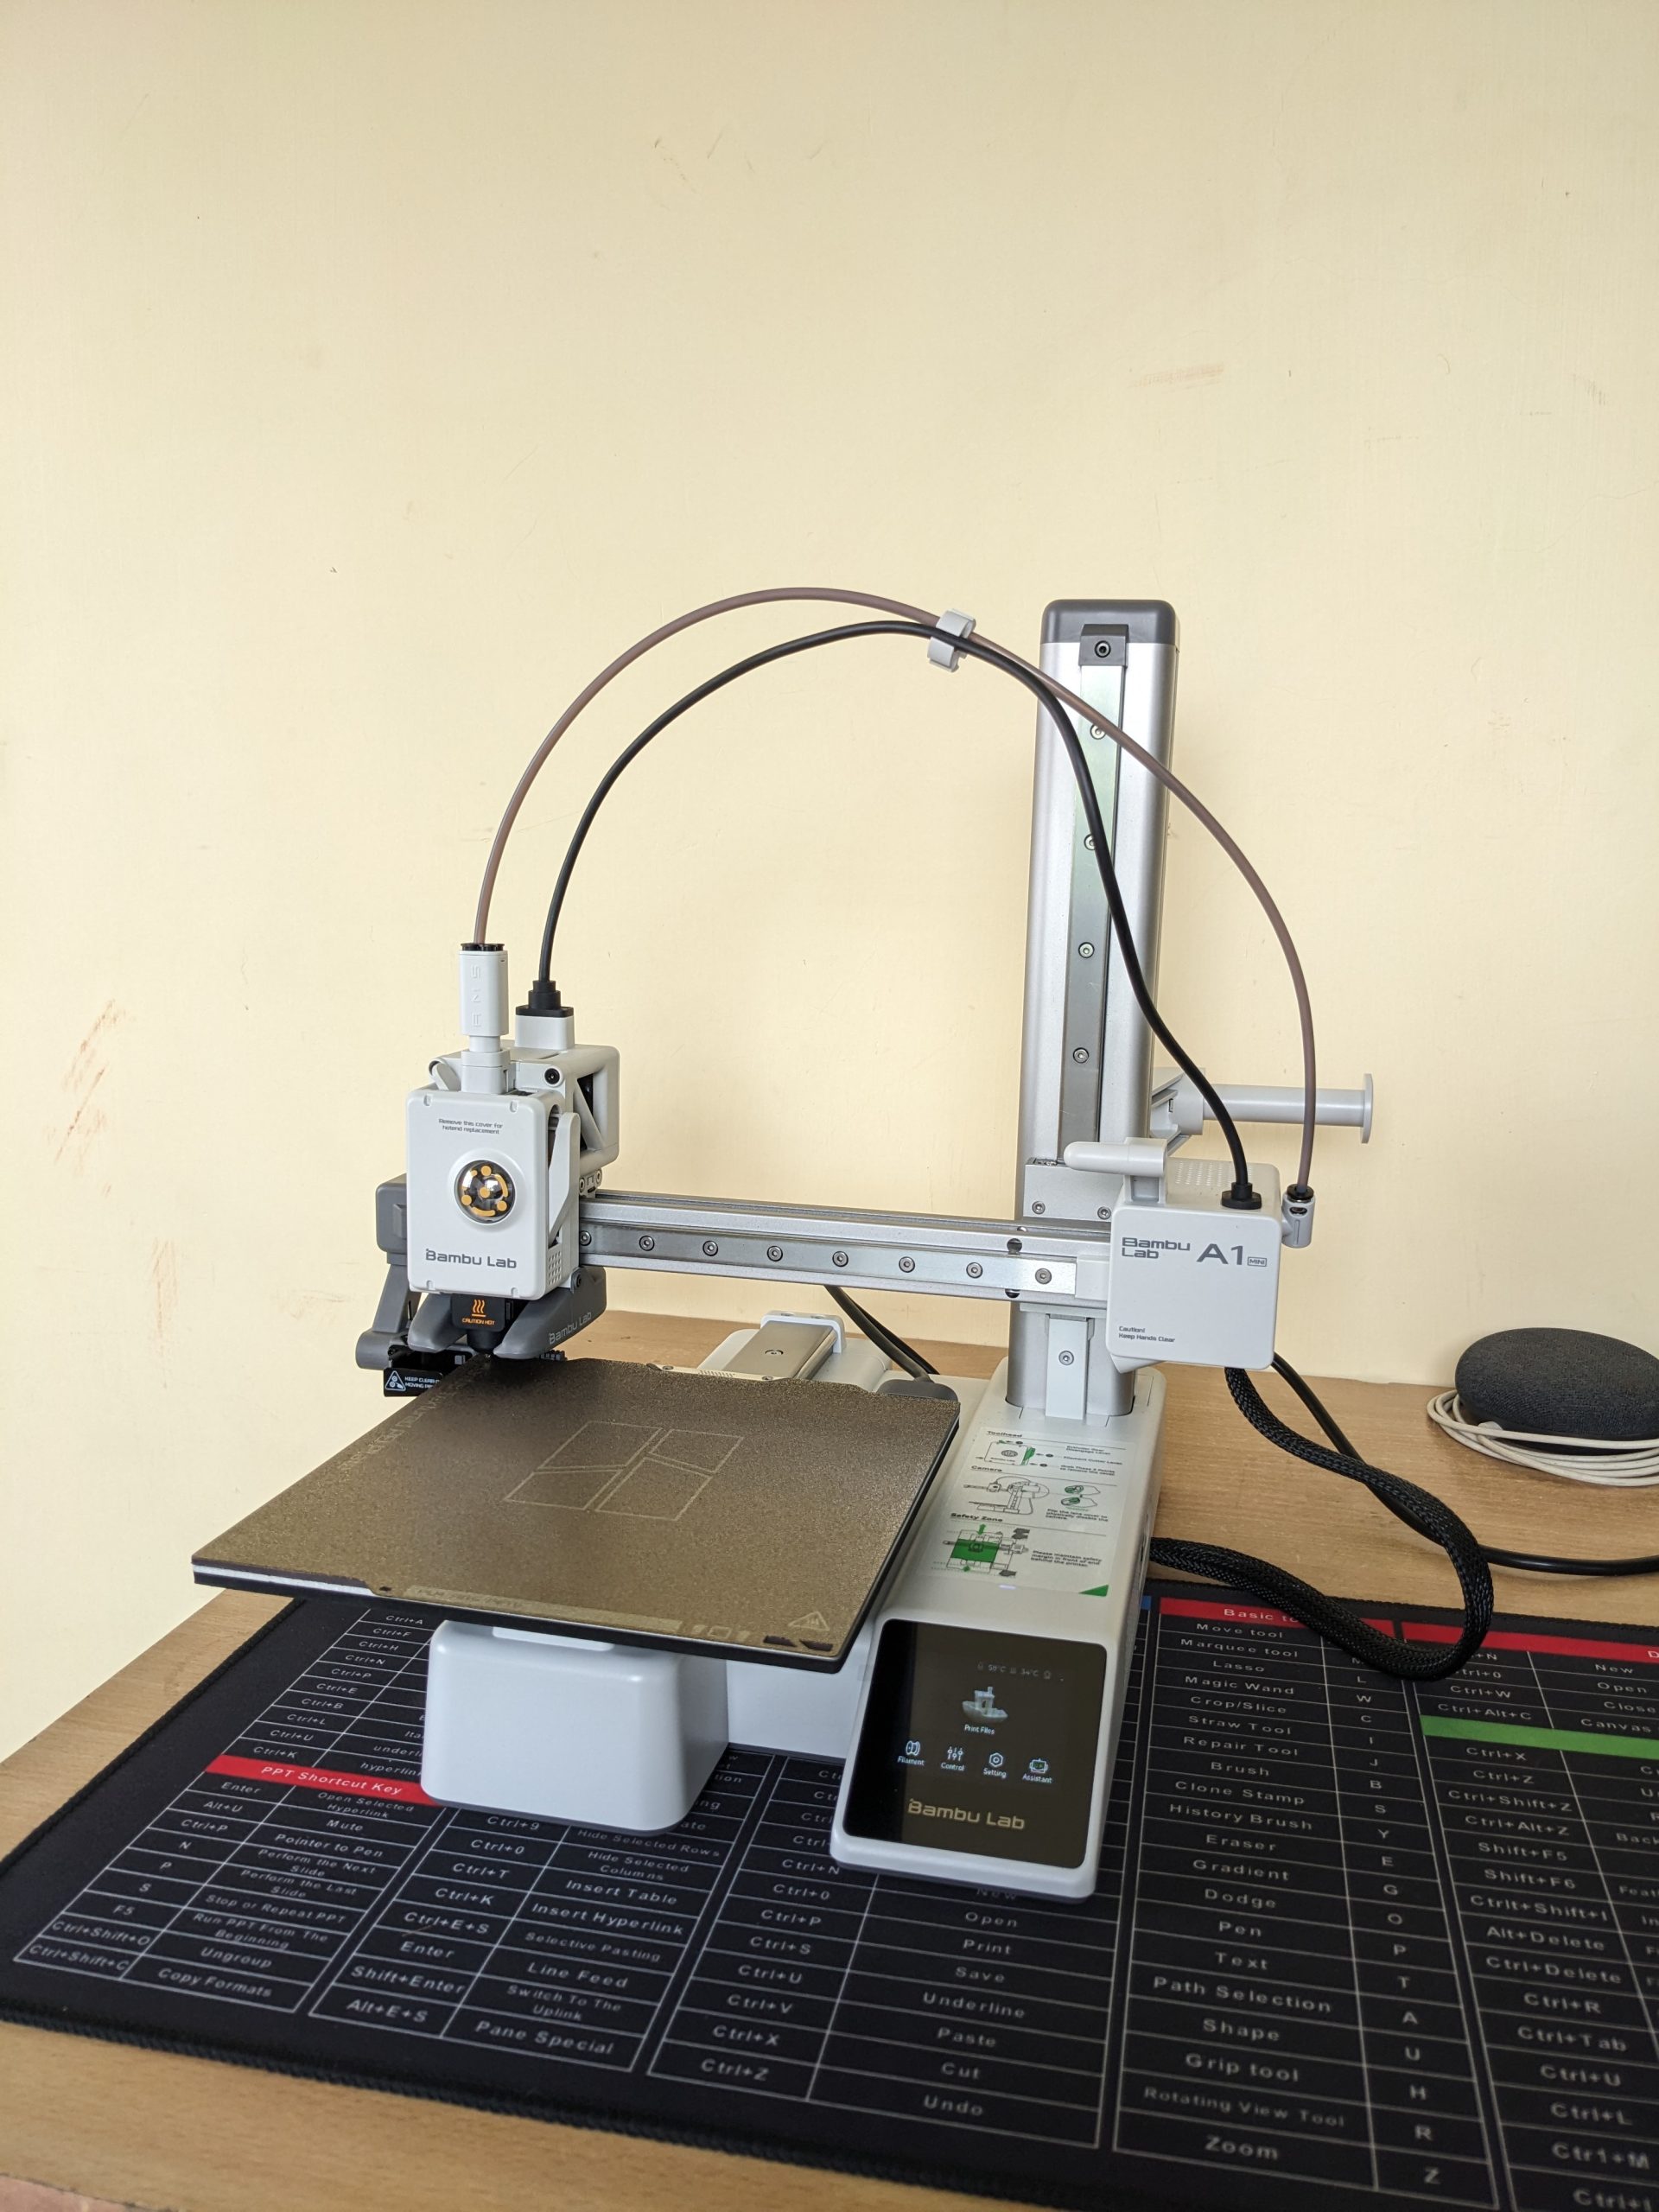
My First 3D Printer: Why I Chose the Bambu Lab A1 Mini (and How I Got It from Robu.in)

Bambu Lab A1 Mini Printer

Thinking about getting into 3D printing? If you’re anything like me, you’ve probably spent hours watching videos, reading reviews, and trying to figure out which printer is the best for a beginner. After a lot of research, I decided to pull the trigger on the Bambu Lab A1 Mini, and I’m so glad I did. I want to share my entire experience, from the moment I clicked “buy” on Robu.in to the moment the printer arrived at my doorstep.

Why the Bambu Lab A1 Mini is a Top Recommendation for Beginners

When I started my search, I knew I wanted a printer that was easy to use, reliable, and didn’t require constant tinkering. The Bambu Lab A1 Mini checked all those boxes and more. Here’s a quick rundown of what makes this printer stand out from the competition:

  • Effortless Setup and Calibration: This was a huge selling point for me. The A1 Mini has a fully automatic calibration system. It handles the bed leveling, Z-offset, vibration resonance, and pressure advance on its own. It’s a true “plug-and-play” experience, which is a massive relief for a first-timer.
  • Insane Speed: You’ll be amazed at how fast this printer is. With a maximum toolhead speed of 500textmm/s and an acceleration of 10,000textmm/s2, you can get your prints done in a fraction of the time compared to other entry-level printers. Less waiting means more creating!
  • Quiet Operation: One of the most common complaints about 3D printers is the noise. The A1 Mini’s active motor noise canceling feature makes it surprisingly quiet. This is great if you plan to have it in a shared living space or a home office.
  • Smart and Reliable: The printer is packed with sensors that prevent common printing failures. The filament run-out and tangle sensors, along with the power loss recovery feature, mean your prints are protected from unexpected issues.

In my opinion, the Bambu Lab A1 Mini is the perfect machine for anyone who wants to jump into 3D printing without the steep learning curve. It’s a solid investment that delivers on its promises.


My Experience Buying from Robu.in

As a maker in India, finding a reliable supplier for high-tech gadgets can be a challenge. I stumbled upon Robu.in and was immediately impressed by their extensive catalogue of electronics, robotics, and 3D printing supplies.

The website was easy to navigate, and finding the Bambu Lab A1 Mini was a breeze. The checkout process was straightforward, and they provided multiple secure payment options, which gave me confidence in my purchase.

Because my location is on the outskirts of the city, I expected the delivery to take a bit longer. However, the wait was completely worth it. The best part? The courier service. My package was handled by BlueDart, and I was really impressed with their service. Despite some online reviews mentioning mixed experiences, my personal delivery with them was great. The package was in perfect condition, and the delivery person was very professional and ensured it was handed over to me safely. This kind of reliable courier service is crucial when you’re buying a delicate and expensive piece of equipment.


What’s Next? Stay Tuned!

The printer is here, and I’m itching to get it unboxed and set up! I’m planning to document my entire experience, from the unboxing to my very first prints, on my new YouTube channel.

I’ll be sharing an in-depth unboxing video soon, where you’ll get a close-up look at the Bambu Lab A1 Mini and all its components. If you’re considering this printer, or just want to follow along on my 3D printing journey, be sure to subscribe to my new YouTube channel and hit the notification bell.

My experience with Robu.in and BlueDart has been excellent, and I can confidently recommend them. Now, it’s time to fire up this printer and see what it can do!
My Next DIY Obsession: From Smart Home to 3D Printing

IoT 3D Printing Banner

If you’ve followed my previous blog post, you’ll know I’ve been deep into building my own DIY smart home ecosystem. My goal is to create a fully customized, open-source-powered “brain of the house,” from automatic door locks to intelligent climate control. It’s been a rewarding challenge, but as my little IoT devices have multiplied, I’ve realized something: they’re not exactly winning any awards for style.

Right now, my creations are a mess of wires and circuit boards, functional but far from a finished product. I knew I needed to take the next step, to bridge the gap between tech-nerd-in-a-garage and home-automation-pro. That’s why I’m diving headfirst into the world of 3D printing. This isn’t just a new hobby; it’s the key to turning my chaotic prototypes into sleek, professional-looking devices.


The Plan: A Beginner’s Guide to My 3D Printing Journey

My journey is starting right at the beginning, and I’m sharing every step to help others who might be considering the same path.

Step 1: The Great Printer Hunt

This is probably the most crucial and overwhelming part. The sheer number of 3D printers on the market is mind-boggling! My top priority is finding an affordable, user-friendly FFF (Fused Filament Fabrication) printer that won’t require a degree in engineering to operate. I’m currently torn between popular beginner models like the Creality Ender 3 and the Bambu Lab A1, both known for their active communities and reliability.

Step 2: From Idea to Model

A 3D printer is just a fancy paperweight without a digital design. I’m already starting to explore 3D modeling software. For now, I’ll be using free, intuitive tools like Tinkercad to create simple enclosures for my IoT sensors. As I get more comfortable, I plan to tackle more advanced software like Fusion 360 to bring more complex designs to life. The feeling of designing something from scratch and watching it take shape layer by layer… that’s the dream.

Step 3: Picking the Perfect Plastic

Who knew there were so many types of plastic? I’m learning about different filaments and their uses. For a beginner, PLA (Polylactic Acid) seems to be the clear winner. It’s easy to work with, less prone to warping, and biodegradable—a great choice for my initial projects. Once I master PLA, I’ll move on to more durable materials like ABS for stronger, more robust enclosures.

Step 4: Time to Hit “Buy”

This is where the adventure truly begins! After weeks of research, I’ll finally be ready to purchase my first 3D printer and a few spools of filament. I’m also looking into essential accessories like a proper build plate and a good set of tools to ensure a smooth printing process.

Step 5: The First Print

My hands are already itching to hit the “print” button. I’ll probably start with something simple, maybe a small benchy or a basic enclosure for one of my temperature sensors. I know there will be failed prints and frustrating moments, but that’s all part of the fun of learning a new skill.


Beyond the Hobby: A Vision for the Future

This isn’t just a personal project. My goal is to use 3D printing to create professional, ready-to-use housings for my IoT devices. In the near future, I plan to make my custom 3D models and even the completed IoT devices available for purchase.

Just a heads-up: this blog post isn’t sponsored, but if any brands are looking for genuine, hands-on product reviews, I’d love to collaborate!

I’ll be documenting every step, from my first successful print to my inevitable failures. If you’re excited to follow along and learn with me, be sure to subscribe to my blog so you don’t miss any updates on my smart home and 3D printing journey. You can also catch up on my original plan for the DIY Smart Home Revolution here.

What kind of project would you love to create with a 3D printer? Let me know in the comments below!

Better Late Than Never: My DIY Smart Home Revolution is Underway!

home automation

NOTE: All the materials/software/solutions I’ll be using in this project will be open-source and designed by me; no ready-to-use solutions will be used. It will be a complete personal project.

Introduction:

Ever felt like you missed the boat on the smart home trend? For years, I watched from the sidelines as friends and tech enthusiasts automated their lives. I’ll admit it – a part of me thought, “It’s a bit late for me.” But that feeling has given way to a new obsession: building my own complete, custom home automation system from the ground up.

This isn’t about buying a few smart plugs and calling it a day. This is about a full-scale home revolution, a project fueled by a desire for convenience, security, and a little bit of tech wizardry. If you’ve ever dreamt of a home that truly works for you, stick around. This is my journey, and it’s just getting started.

The Master Plan: A Home That Thinks for Itself

My goal is a holistic ecosystem that integrates every aspect of my daily life. Forget about fragmented apps and devices. My system is designed to be the brain of the house, handling everything from security to sustainability.

Here’s a breakdown of the core features I’m building:

  • Your Personal Digital Butler: My system will be the ultimate notification hub. Get instant alerts for everything: a package delivery, a water leak, or even a simple reminder to take out the trash. No more missed events, no more forgotten tasks.
  • The Unlocking Experience: I’m ditching the traditional key. With automatic door mechanisms and a fingerprint sensor, entry into my home will be seamless and highly secure. The door will know when I’m home and lock itself behind me, offering peace of mind.
  • Climate Control, Perfected: No more fiddling with the remote. Using temperature and humidity sensors, my system will intelligently manage the existing AC units to maintain a perfect, comfortable climate, all while optimizing energy usage.
  • Water Management, Simplified: Water is a precious resource. My system will monitor the water tank level in real-time, preventing overflows and automating the refilling process for efficient, hassle-free water management.
  • Smarter Appliances, Smarter Living: I’m putting an end to manual tasks. Using relay modules, I’ll control lights, fans, the washing machine, and other appliances remotely. Imagine a routine where the coffee maker starts brewing just as your alarm goes off.
  • The Guardian of the Network: A stable, secure network is the backbone of a smart home. My system will actively monitor the network, alerting me to any connectivity issues or suspicious activity, keeping my digital life safe.
  • Energy at a Glance: I’m a firm believer in “you can’t manage what you don’t measure.” I’ll be monitoring electricity availability and consumption to gain valuable insights, helping me identify opportunities to reduce my power bill and environmental footprint.
  • My Indoor Garden’s Best Friend: For the plant parent in me, I’m building a smart plant watering system that will use moisture sensors to deliver the perfect amount of water, ensuring my green friends thrive without constant supervision.
  • Automated Sentimental Reminders: Life gets busy. My system will be a digital memory keeper, automatically sending out personalized greetings for birthdays and anniversaries, making sure I never miss a special moment.

The Tech Behind the Magic

The heart of this entire operation is a powerful Raspberry Pi 5 server. For security, this server will be completely isolated from the direct internet, running all automation tasks over my local network (Wi-Fi and LAN). Remote access will be exclusively through a secure VPN connection, ensuring all my data stays private and protected.

The components I’m using are a tinkerer’s dream: ESP32 microcontrollers, distance sensors, light sensors, and a host of other peripherals.

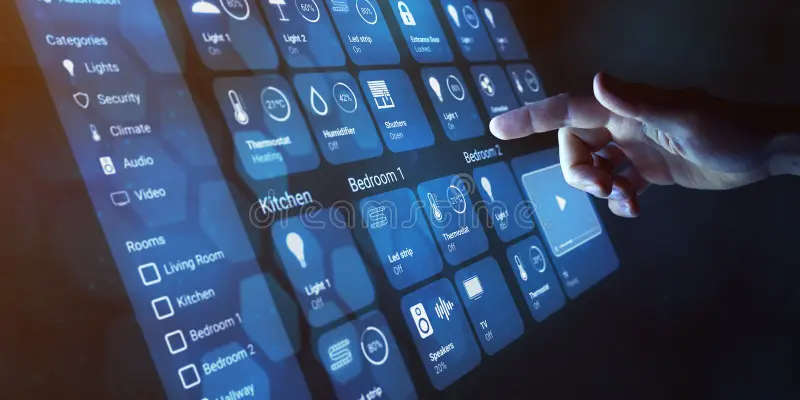
But what’s a smart home without a command center? All the data and controls for this entire ecosystem will be displayed on a dedicated, always-on 10-inch screen. This central hub will provide a real-time overview of every system and allow me to control everything with a simple touch.

Join the Smart Home Revolution

This project is more than just a hobby; it’s a testament to the power of DIY and the incredible potential of technology to simplify our lives. I’ll be sharing every step of this journey, from the wiring nightmares to the triumphant moments of a fully automated routine.

If you’re inspired and looking to build a similar setup, I’m excited to announce that I’ll soon be offering the hardware and custom services I’m designing. To stay in the loop and get early access, drop me an email at mail@vikashmishra.online.

The era of the truly intelligent home is here, and I’m proof that it’s never too late to start building your own.