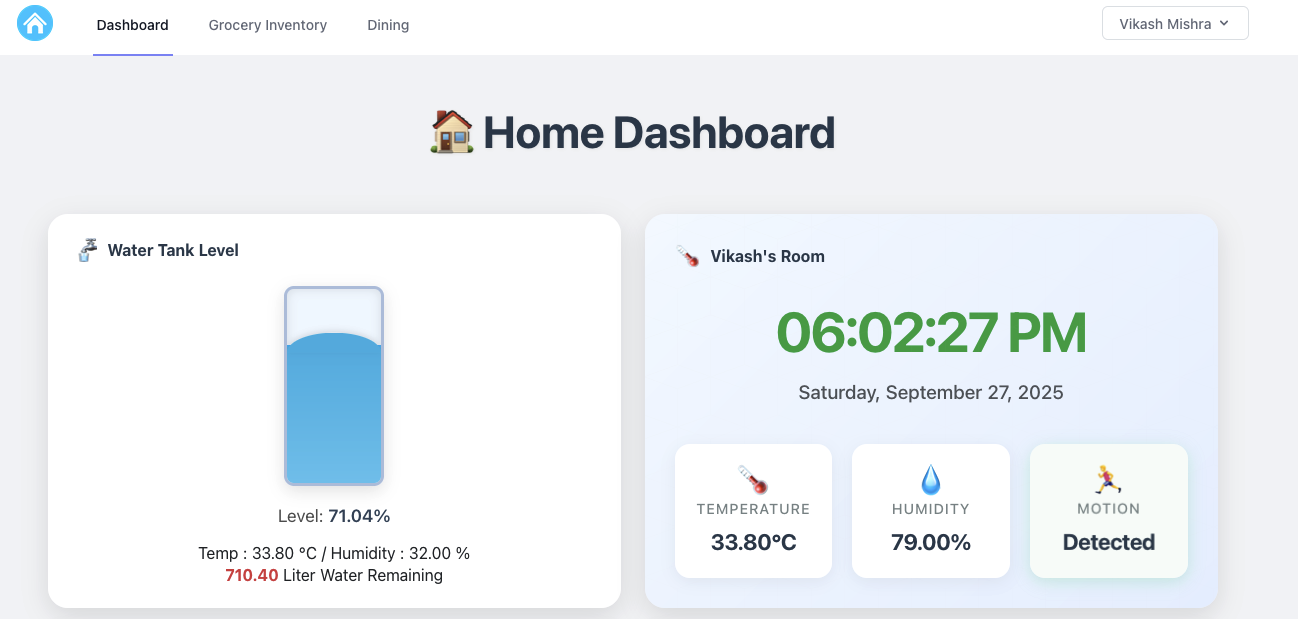
Starting your first Internet of Things (IoT) project can feel like opening a black box of circuits, code, and 3D printing fails. But the payoff—when that little red LED finally blinks, or in my case, when the water level reading finally appears on the screen—is worth every moment of frustration.
My goal was simple: stop climbing onto the roof to check the tank and instead build a reliable water level monitoring system using an ESP32.
The Hardest Part Wasn’t the Code—It Was the Plastic
When I began, I thought the coding and wiring would be my biggest challenge.
Turns out, it was the housing.
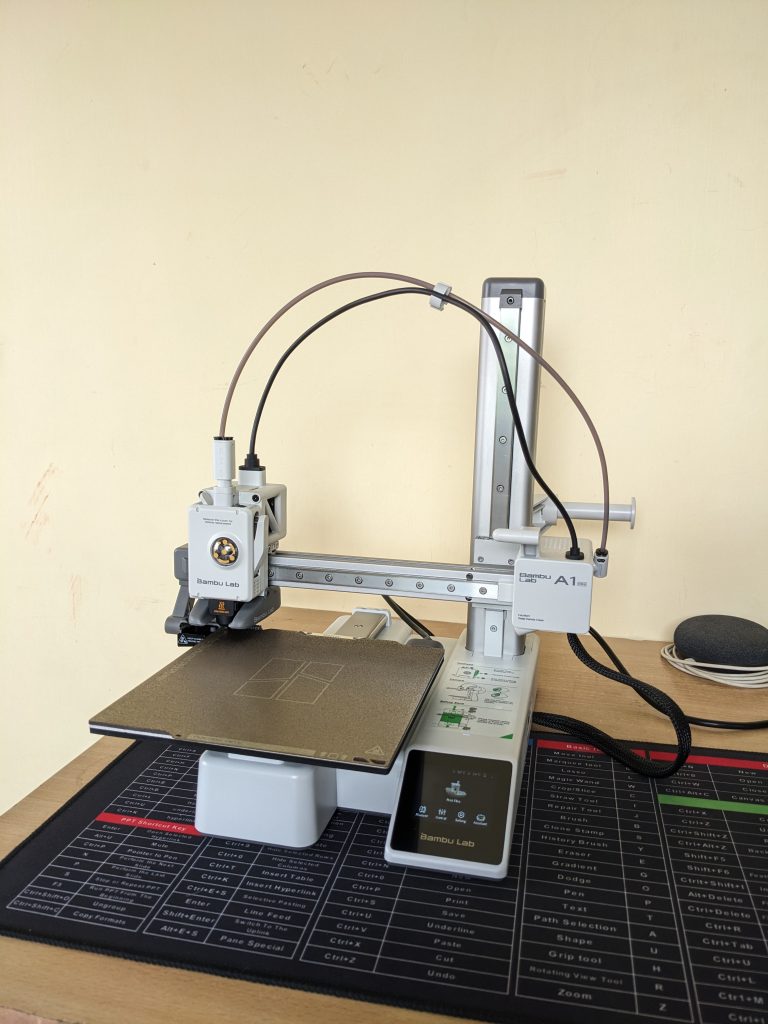
The device needed to sit securely on the tank cap and survive outdoors. That meant designing a custom, weatherproof enclosure. This is where I dove into 3D modeling with Blender—and failed many times.
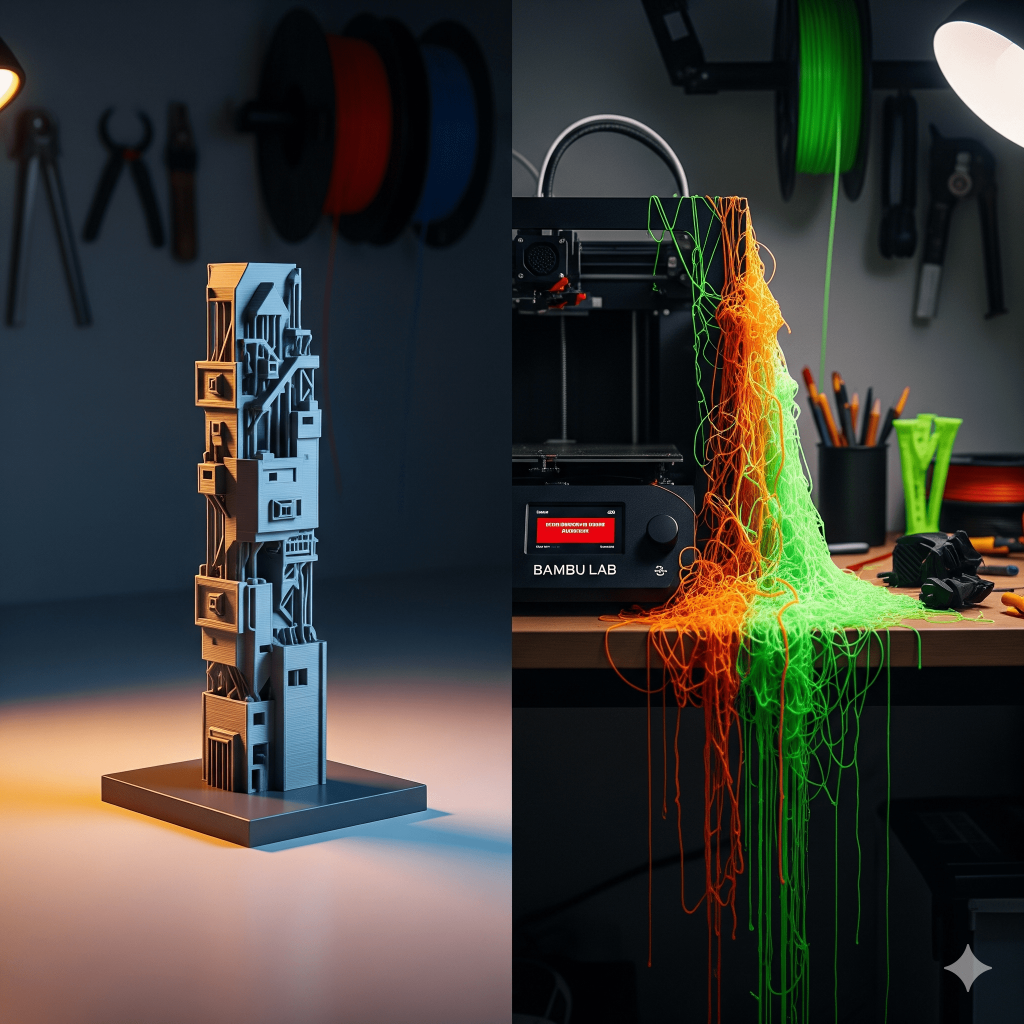
I printed version after version:
- Too small
- Walls too thin
- Ultrasonic sensor hole misaligned
- Mounting screw holes stripped
Each mistake was frustrating, but every failure taught me something new. Eventually, I managed to design and print the perfect enclosure—watertight, sturdy, and snugly mounted on the tank cap.
The feeling when a digital design becomes a working physical object is simply incredible!
The IoT Brains and Sensory Organs
Here’s the simple but powerful hardware setup I used:
- ESP32 Development Board – The brain of the project. Powerful, has built-in Wi-Fi (great for data logging or sending alerts), and beginner-friendly with the Arduino IDE.
- Ultrasonic Distance Sensor (HC-SR04 or similar) – The core sensor. It measures the distance between the sensor and the water surface.
- DHT11/DHT22 Sensor – Bonus sensor for temperature and humidity inside the enclosure. Not required for water monitoring, but great for learning to integrate multiple sensors.
From Distance to Liters: The Simple Physics
The trick is converting the distance measured by the sensor into meaningful values like water level percentage and remaining tank capacity.
Known values in my setup:
- Distance from sensor to bottom (Dfloor) = 120 cm
- Distance when tank is empty (Dempty) = 20 cm
- Tank capacity (Vcapacity) = 1000 liters
Step 1: Usable Water Height
Hmax = Dfloor – Dempty = 100 cm
Step 2: Current Water Height
Hwater = Dfloor – Dmeasured
Step 3: Water Level Percentage
Level% = (Hwater / Hmax) × 100
Since Hmax = 100 cm, every 1 cm of water = 1% full.
Step 4: Volume Remaining
Volume = (Hwater / 100) × Vcapacity
With a 1000-liter tank and 100 cm usable height, every 1 cm of water ≈ 10 liters.
Connect with Me – Buy This Smart IoT Project!
I’m passionate about making practical IoT solutions accessible and affordable.
If this project excites you, you don’t need to build it from scratch—I’ve already developed and tested a ready-to-install Smart Water Tank Level Monitor. It’s compact, weatherproof, Wi-Fi enabled, and fully calibrated for home use.
💧 This device will save you time, effort, and water by giving you accurate tank readings instantly.
👉 If you’d like to purchase one, simply connect with me:
📩 mail@vikashmishra.online
The ESP32 Code, Web Integration, and Hosting
The ESP32 code powering this project not only calculates the water level but also integrates Wi-Fi connectivity. To ensure efficiency, it uses a smart reporting algorithm—sending data to the server only when the water level changes by 1% or more. This saves bandwidth and reduces server load.
For hosting, I use CLOUDPOKO.com
Why CLOUDPOKO?
- Super-fast, reliable servers
- Affordable plans perfect for IoT API calls
- Easy setup for PHP-based dashboards
- Outstanding uptime and support
CLOUDPOKO has been the backbone of my IoT setup. If you’re planning to host your own IoT projects or even personal websites, I highly recommend them.
On the backend, I built a simple PHP dashboard to collect sensor data and display real-time water levels. It’s lightweight, efficient, and works seamlessly with CLOUDPOKO hosting.
(I’ll share the complete ESP32 (Arduino) code in my next blog.)

Leave a Reply