
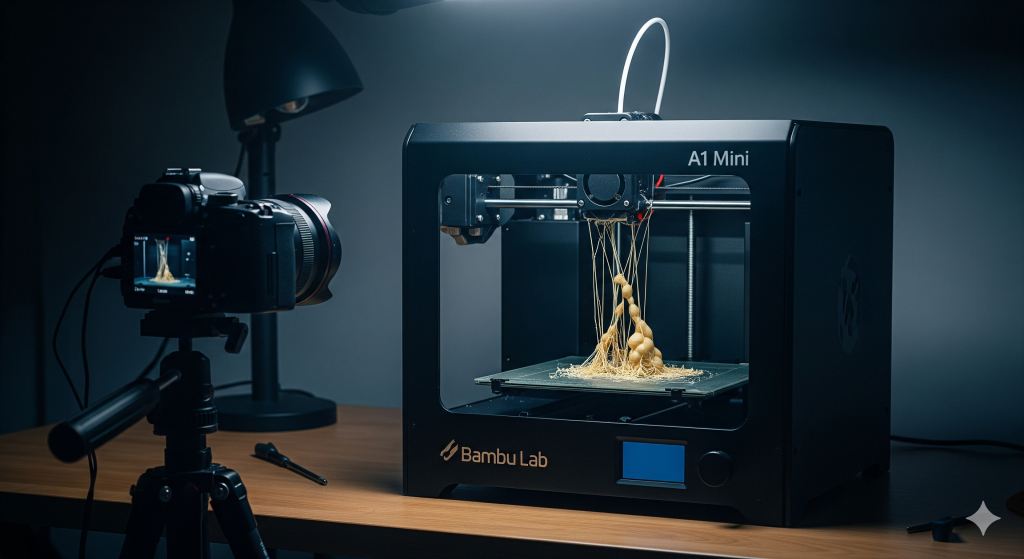
As a 3D printing enthusiast, I’ve seen my share of exciting new features, but few were as captivating as the built-in camera and timelapse function on the Bambu Lab A1 Mini. I mean, who doesn’t want to watch their 3D prints come to life in a sped-up video? I used it on everything I printed. It was fun… until my prints started failing.
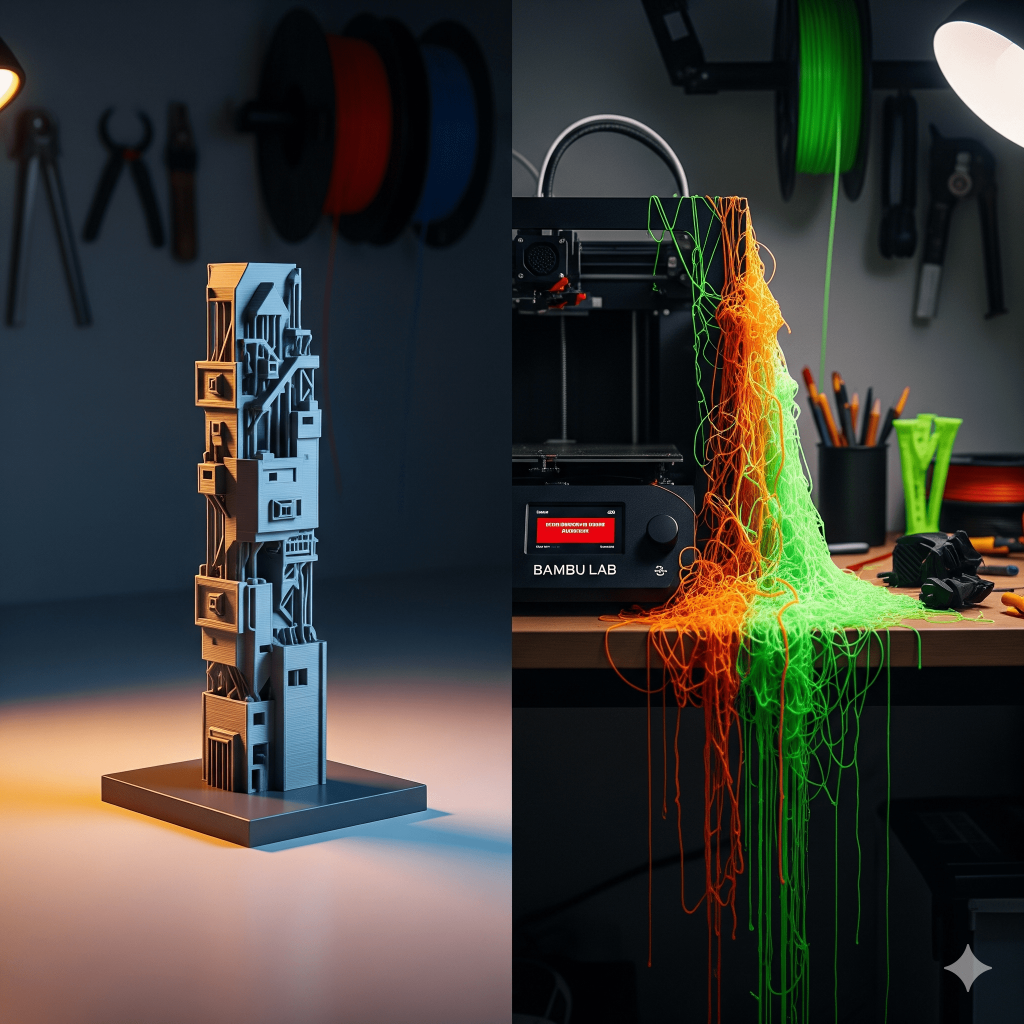
It wasn’t a sudden crash; it was a slow, frustrating decline in print quality. My models were littered with tiny imperfections: little blobs, wispy threads, and messy-looking layers. I tried everything—tweaking settings, drying my filament, and even swapping nozzles. Nothing worked.
The Hidden Flaw of the A1 Mini Timelapse
I eventually realized the cause wasn’t my filament or my settings—it was the very feature I loved. The A1 Mini’s timelapse mode works by moving the print head outside the printing area to snap a photo at the end of each layer. While the hot nozzle is parked, molten PLA can ooze out.
When the head returns to continue the print, these tiny drops of filament get deposited onto the model. This constant start-stop process, repeated for every single layer, is a perfect recipe for stringing and blobs. It’s like stopping a pen while you’re writing; you get a blotch of ink right where you lift it.
For detailed models, this is a disaster. What was supposed to be a fun feature was actually sabotaging my prints.
My Top Tip: Turn Off the Timelapse
After much frustration, I decided to run a simple test: I printed the same model twice—once with the timelapse on and once with it off. The difference was incredible. The print with the timelapse off was perfectly clean and smooth, while the other was riddled with familiar imperfections.
My personal recommendation is simple: if you’re having print quality issues with your Bambu Lab A1 Mini, the very first thing you should do is turn off the timelapse feature. A successful, high-quality print is far more rewarding than a cool video of a failed one.
If you absolutely must have a timelapse, consider using the “Smooth Timelapse” option in Bambu Studio. It helps by moving the nozzle to a small purge tower to prevent oozing before it takes a picture.
For me, the peace of mind that comes with a reliable print outweighs the desire for a quick video. I now only use the timelapse for large, simple models where a little imperfection won’t matter.
I share my experiences to help other makers avoid the same frustrating pitfalls. If you found this post helpful, be sure to subscribe to my blog and follow my YouTube channel for more honest reviews, tips, and tricks based on my own 3D printing adventures. Happy printing!
Did you find this helpful? Have you had similar experiences with the A1 Mini? Share your thoughts and questions in the comments below!
Leave a Reply