
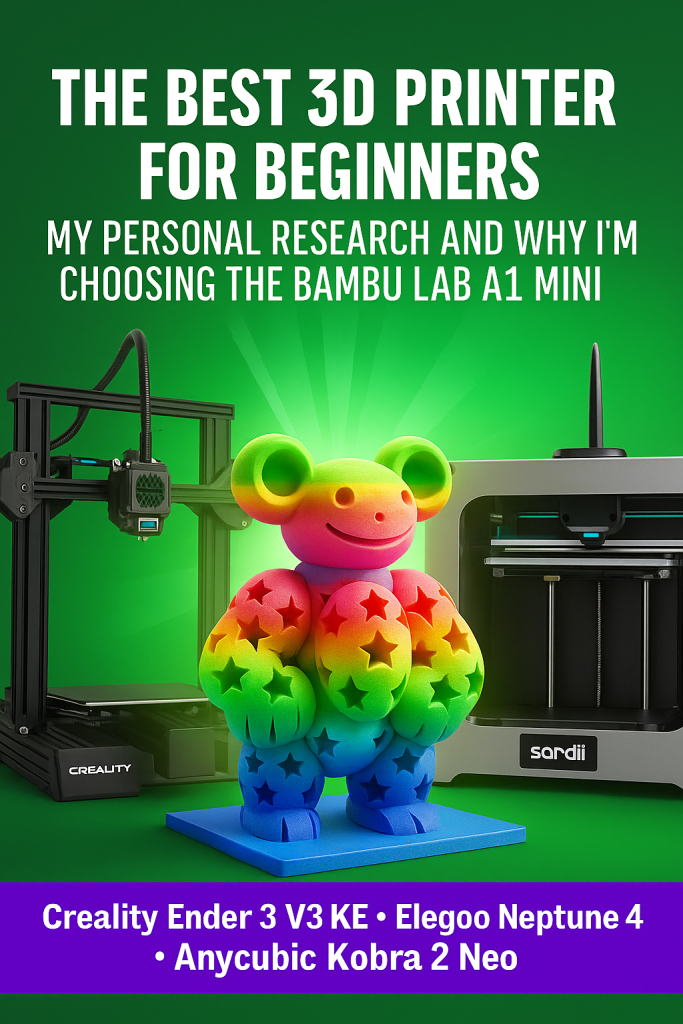
When I first got my Bambu Lab A1 Mini, I felt like I had a new superpower. I imagined creating cool gadgets, practical items for my home, and so much more. But my excitement quickly turned to frustration as one print after another failed. The designs were perfect, the settings seemed right, yet my creations would warp, snap, or simply fall apart. It took me a while to realize the real culprit: I was using the wrong material for the job.
I’m sharing my story so you don’t have to go through the same headaches and wasted filament I did. Choosing the wrong material is like using a plastic spoon to dig a well—it’s just not going to work. Let my experience save you from those frustrating moments.
The Secret Mantra of 3D Printing: “Know Your Material”
Here’s the honest truth they don’t tell you upfront: every 3D printing material has its own unique personality. Some are easy to work with, while others are a bit fussy. Ignoring these traits is a recipe for disaster. My biggest “aha!” moment came when I realized that a material’s properties—like its strength, flexibility, and heat resistance—are just as important as the design itself.
To help you avoid the failures that almost made me give up, here’s a breakdown of the materials I’ve used, along with what they’re best for and what to watch out for.
A Breakdown of Common 3D Printing Filaments
PLA (Polylactic Acid): The Beginner’s Best Friend
- Properties: This is your entry-level, no-fuss filament. Made from renewable sources, PLA is very easy to print with, doesn’t warp much, and gives a smooth, glossy finish.
- What it’s best for: PLA is perfect for visual models, prototypes, and low-stress items. Think decorative pieces for your living room or small gifts for friends. My first successful prints—a tiny keychain and a decorative pot—were made with PLA.
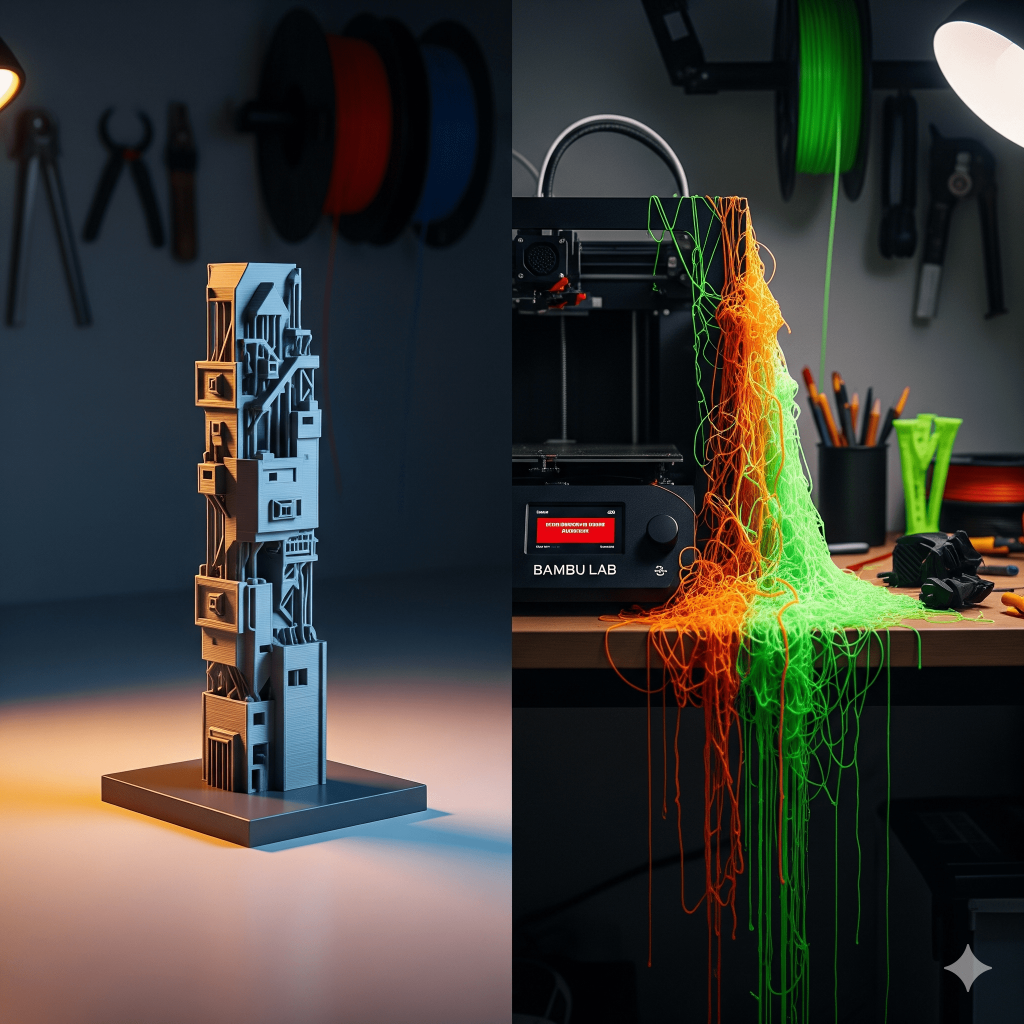
- My mistake: I tried to print a small teddy bear model, thinking PLA was a safe bet. However, I used the wrong temperature setting for the specific PLA I had, which had a lower melting point. This led to a complete mess—instead of a cute teddy, I got a stringy, deformed structure that finally gave up. I learned that even with beginner-friendly PLA, the right settings are crucial.
ABS (Acrylonitrile Butadiene Styrene): The Tough Guy
- Properties: If you’ve ever played with LEGO bricks, you’ve experienced ABS. It’s strong, durable, and can handle higher temperatures than PLA. The catch? It’s a bit tricky to print with. ABS requires a heated bed to prevent warping and gives off a strong smell, so make sure you have good ventilation.
- What it’s best for: Use ABS for functional parts, end-use components, and anything that needs to be tough and durable. Think car parts, electronic casings, or structural brackets.
- My mistake: I first tried printing a car part with PLA, which warped almost immediately. I then switched to ABS, which worked perfectly, but the strong plastic smell taught me a valuable lesson about the importance of a well-ventilated space.
PETG (Polyethylene Terephthalate Glycol): The Reliable All-Rounder
- Properties: PETG is the perfect middle ground. It offers the strength and durability of ABS without the terrible smell, and it’s almost as easy to print as PLA. It’s also tough and resistant to water and chemicals.
- What it’s best for: This is my go-to material for a wide range of projects. It’s fantastic for mechanical parts, durable prototypes, and objects that need to withstand a bit of rough use.
- My success story: After my ABS experience, I started using PETG for most of my functional prints. I’ve used it to create durable brackets and custom containers, and it has never let me down.
Nylon (Polyamide): The High-Performance Champion
- Properties: Nylon is an incredibly strong, flexible, and wear-resistant material. It’s perfect for parts that need to bend without breaking. The biggest challenge? It’s highly hygroscopic, which means it absorbs moisture from the air like a sponge. Printing with wet nylon results in weak, bubbly layers.
- What it’s best for: Use nylon for gears, bearings, hinges, and other high-wear components.
- My mistake: I wanted to print a replacement gear for an old motor with nylon. I left the filament out on my desk for a few days, and the resulting print was a complete failure—full of bubbles and completely brittle. I quickly learned that proper storage is a must for this material.
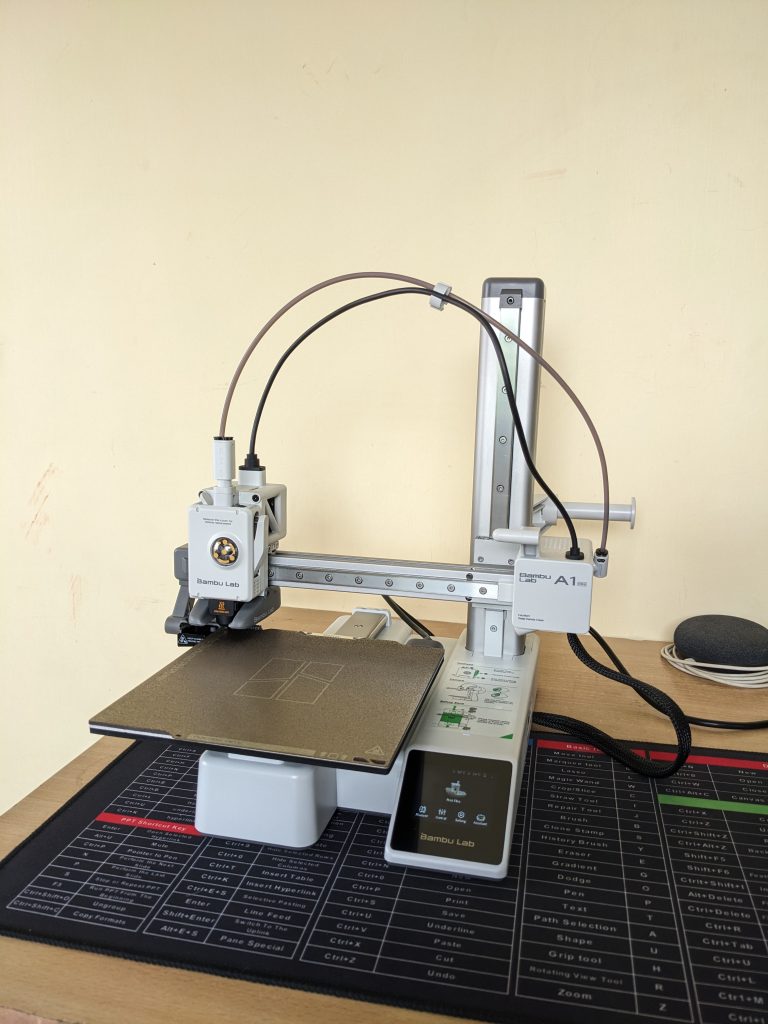
My Bambu Lab A1 Mini Settings: A Quick Guide
The Bambu Lab A1 Mini is a fantastic printer, but even it needs the right settings to work its magic. While the pre-loaded profiles in Bambu Studio are usually a great starting point, here are some of the temperature settings I’ve found to work best on my A1 Mini, especially when using the Textured PEI Plate.
- PLA:
- Nozzle Temperature: 220°C. This is a bit higher than some other printers, but it works perfectly with the A1 Mini’s high-speed printing.
- Bed Temperature: 65°C. This ensures excellent bed adhesion and prevents warping, especially on larger prints.
- PETG:
- Nozzle Temperature: 250°C. This temperature provides a good balance for strong layer adhesion and reduces stringing, a common PETG problem.
- Bed Temperature: 70-80°C. A higher bed temperature helps to prevent warping and ensures the print sticks well to the plate.
- ABS:
- Nozzle Temperature: 250-260°C. Since the A1 Mini is an open-frame printer, you’ll need to print at the higher end of the temperature range to compensate for the lack of an enclosure.
- Bed Temperature: 80°C. This is the maximum bed temperature for the A1 Mini. While it’s not ideal for large ABS prints, it can work for smaller parts if you also use a brim. Remember, an enclosure is highly recommended for ABS to get the best results and avoid warping.
- Nylon:
- Nozzle Temperature: 260°C (The A1 Mini’s max temp).
- Bed Temperature: 80°C (Max). Printing Nylon on the A1 Mini is a real challenge due to the lack of an enclosure and the bed’s maximum temperature. It’s generally not recommended for large or critical parts, but you can try to get away with small, non-critical parts with a wide brim and by keeping the printer away from any drafts.
My Final Advice: Pick the Right Tool for the Job
Your 3D printing journey will be much smoother if you think of material selection as the first step of your design process, not the last. Ask yourself these key questions before you print:
- What does this part need to do? Is it for looks or for function?
- What conditions will it face? Will it be under stress, exposed to heat, or need to flex?
- What’s my experience level? Am I ready for the challenge of a more difficult material?
Learning from my mistakes saved me a lot of headaches and wasted filament. By understanding your materials, you can ensure your projects are not only beautiful but also strong and reliable. Happy printing!
Want to see how the wrong filament choice caused a print to fail? Check out the video below for a time-lapse of my teddy bear print failure. It’s a real eye-opener!
Don’t forget to subscribe to my blog for more honest insights and tips, and hit that subscribe button on my YouTube channel so you don’t miss out on future projects and lessons!
Leave a Reply